

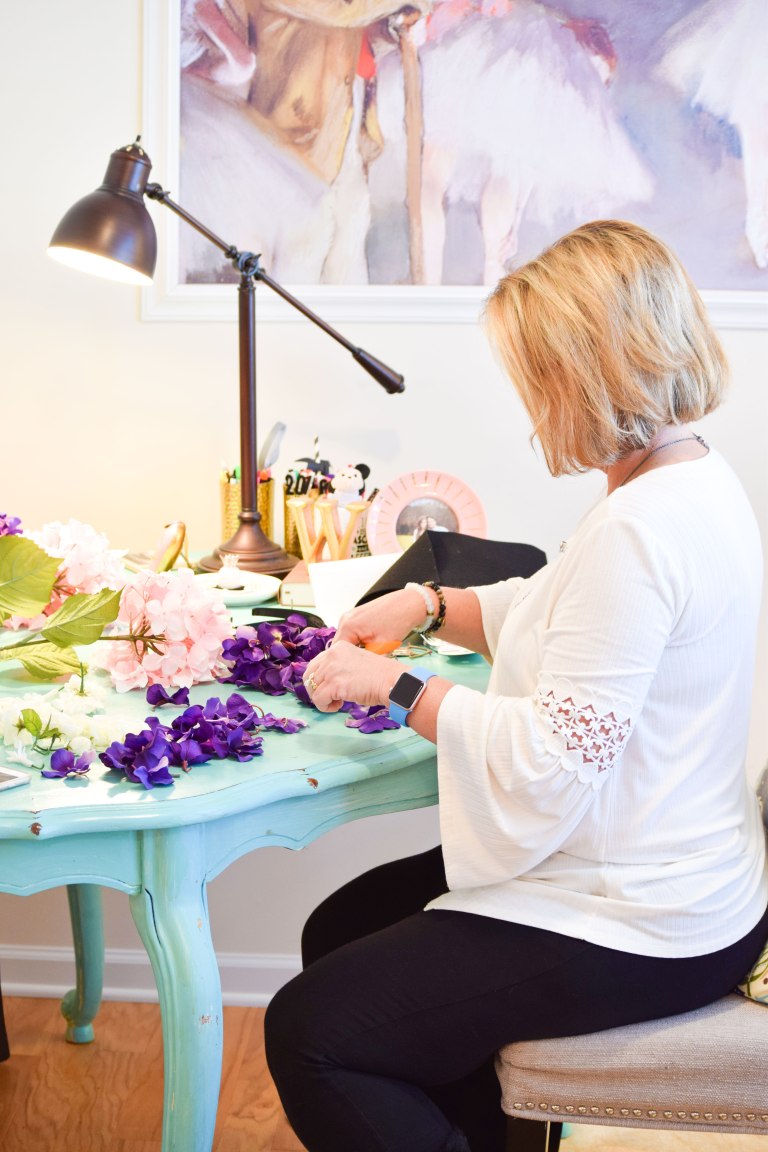


Today’s post is a little different than my normal posts but I wanted to share a little DIY project. My mom and I made these cute ears for our recent trip to Disney. We got so many compliments on them because they are so unique. You actually can’t buy anything similar in the parks. You can customize these ears depending on the time you visit Disney World. For example, we choose spring flowers for the Flower and Garden Festival. You can choose fall flowers, Christmas flowers, or any color or look you want to achieve. I was surprised how easy they were to make. Trust me, I am not a DIY kinda gal so they are THAT easy!
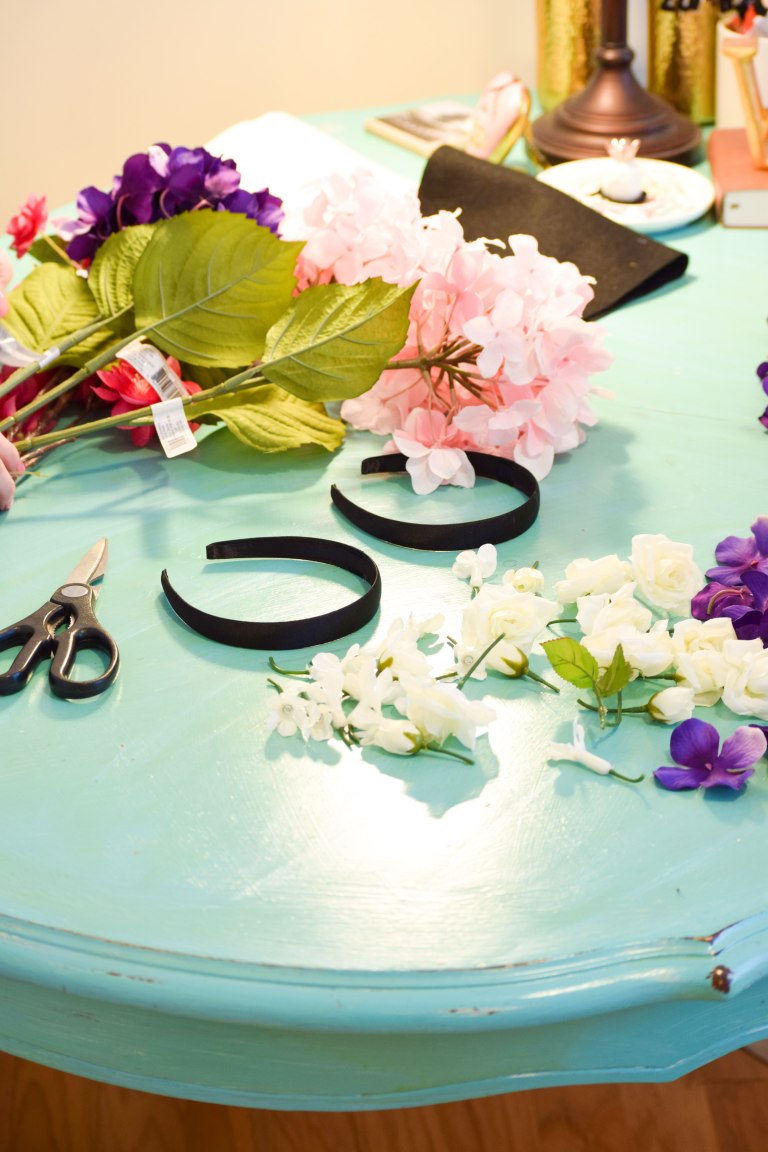
What you need:
- Floral wire (I had gold and my mom used silver)
- Flowers (variety of colors)
- Headband (I choose black)
- Hot glue gun
- Wire Cutters
- Pliers
- Candle (a Bath and Body Works Candle is perfect)
Steps:
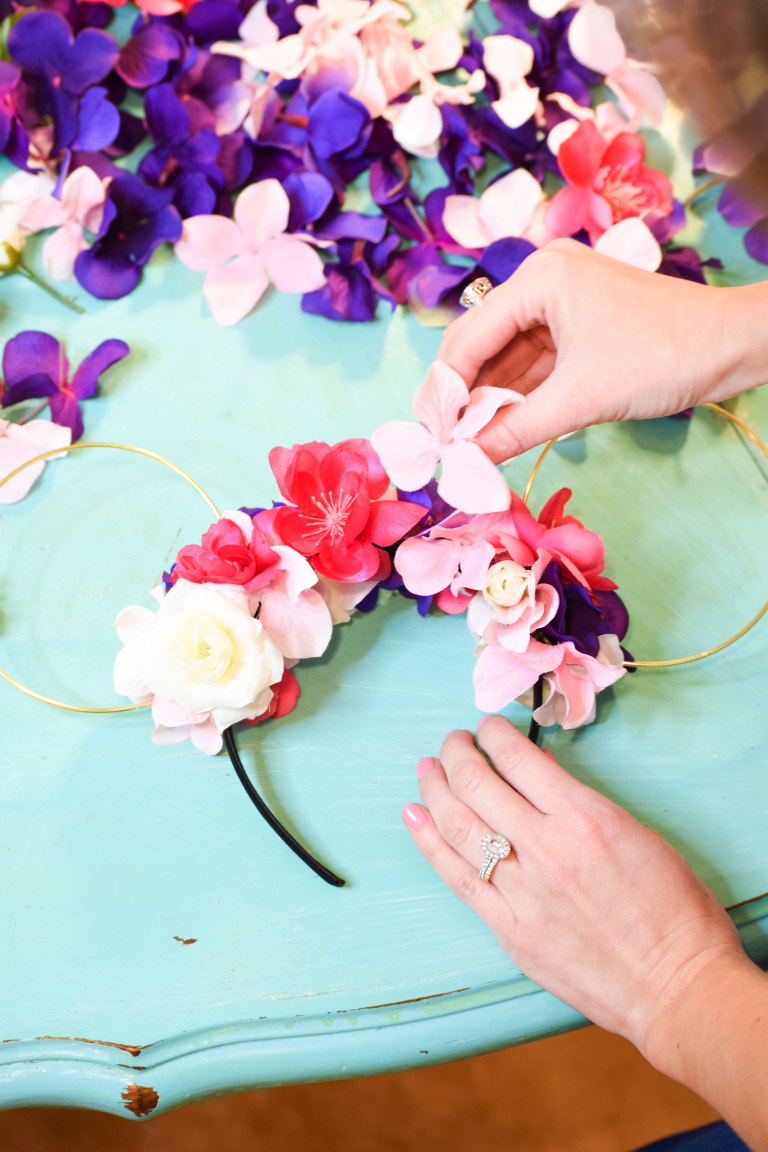
- Take the wire and round it around the candle. Leave enough room on the edges to wrap it around the headband (it will look like a Mickey ear on a stick). Usually about an inch or two is enough to wrap the wire around the headband.
- 3 and 1/2 inches from the bottom, take the wire and twist the wire around the headband. Take pliers to tighten the ears into place.
- Do the same for the other ear. Make sure the ears are tight and set into place.
- Clip off flowers.
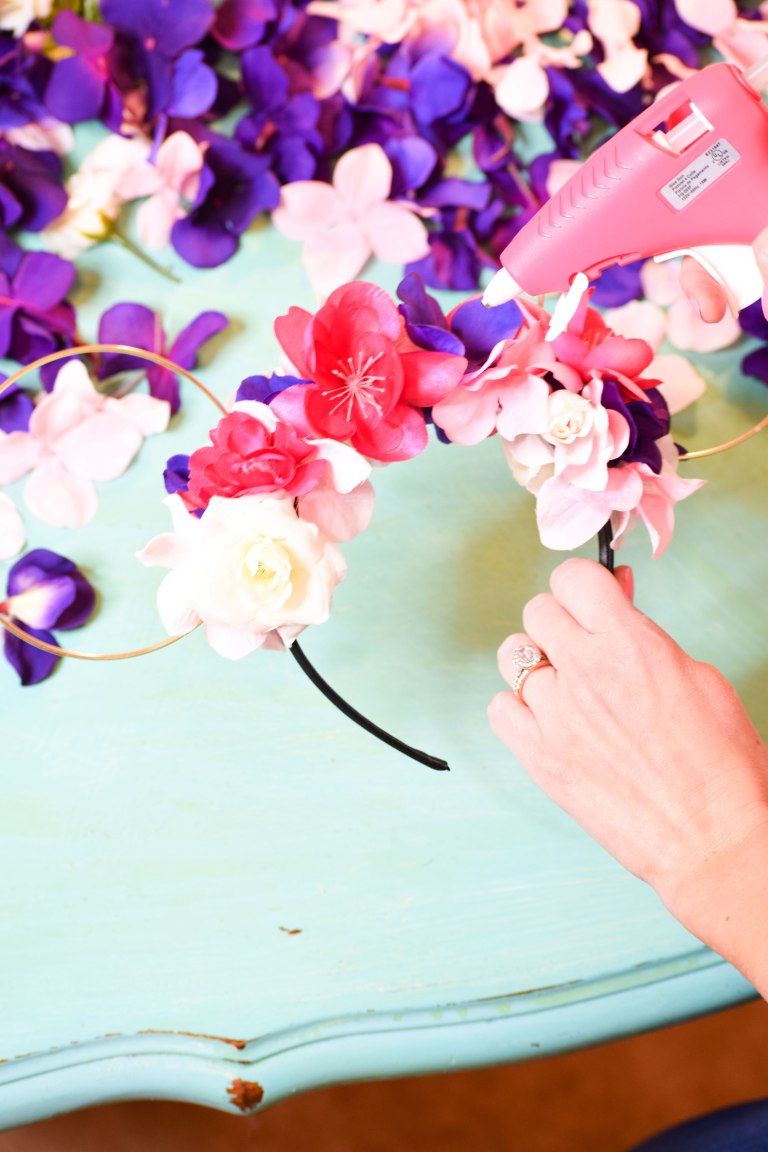
- Start hot gluing the flowers on the headband. Glue on both sides to create a fuller look. Fill in the entire headband.
I used this clip to help me for a visual. She gives an amazing view for those who are visual learners. I did not do a bow for the ears we created. I also did not put a ribbon under the headband. The wire on my ears did not hurt my head but for smaller children the ribbon may be a good idea. These ears are very durable and I know I will be wearing mine on future trips (and making more).
I hope you enjoyed this post and that it will help you create a magical piece for an upcoming Disney trip!

